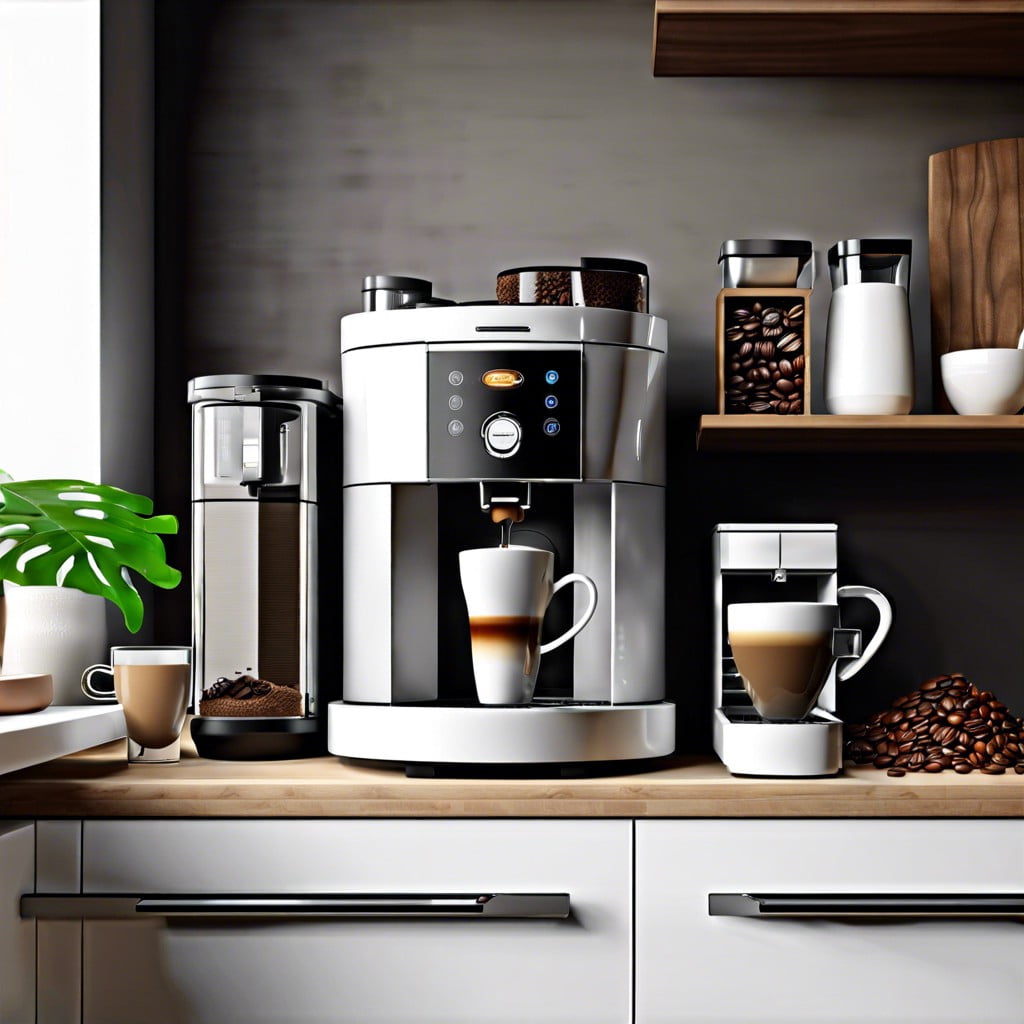
Learn how to use a coffee maker to brew the perfect cup of coffee every time.
Selecting the Right Coffee Maker

When choosing a coffee maker, consider your daily coffee needs. A single-serve pod machine might suffice for solo drinkers, while a larger drip model is ideal for households with multiple coffee lovers. Think about convenience too; automatic machines with programmable features save time on busy mornings. Also, factor in space; smaller kitchens may benefit from a compact design. Lastly, explore different brewing methods like French press, espresso, or cold brew to match your taste preferences. Each method affects the flavor and body of your coffee, so select a machine that aligns with your palate.
Understanding Coffee Maker Components
Familiarize yourself with the main parts that keep your coffee maker ticking:
**Water Reservoir:** This is where you add water for brewing. It’s typically located at the back or side.
**Filter Basket:** Found either at the top or front, depending on your model. Here’s where you place the coffee grounds. Some machines use a reusable basket; others require disposable paper filters.
**Heating Element:** It heats the water to the perfect temperature for extracting flavor from coffee grounds. You won’t see it, but it’s the heart of the operation.
**Carafe or Mug:** This is the receptacle that catches your freshly brewed coffee. Glass carafes are common, but thermal and single-serve mugs are also options.
**Control Panel:** This could be a simple on/off switch or a panel with timers and brewing options. It’s your command center to customize your coffee experience.
Each component plays a crucial role, so keeping them in check ensures your coffee tastes consistently great.
Preparing the Coffee Maker
First, gather all necessary supplies: fresh coffee grounds, a clean filter, and enough water for your brew. Depending on your machine type, filters can be either reusable or disposable. Always ensure the filter sits snugly in the basket to prevent grounds from slipping into your brew.
Next, fill the water reservoir with cold water. Using cold water helps extract the full flavor from the coffee grounds as it heats up gradually during brewing. Be sure not to exceed the maximum line on the reservoir to avoid overflow during brewing.
Add the coffee grounds to the filter. A general rule of thumb is to use one to two tablespoons of coffee per six ounces of water. However, adjust according to your taste preference. Ensure the grounds are evenly spread so that water can pass through them uniformly, optimizing flavor extraction.
Starting the Brewing Process
First, ensure the coffee maker is plugged in and has sufficient water in its reservoir. Next, place your preferred type of coffee grounds into the filter. The amount will depend on how strong you prefer your brew; a good starting point is one tablespoon per cup of water.
Press the switch or button to start the brewing process. Your machine may take a few minutes to heat the water to the ideal temperature before it begins dripping through the grounds. During this time, you might hear gurgling or hissing sounds, which is perfectly normal as the machine works its magic.
Finally, keep an eye on the coffee as it brews. When the process finishes, some coffee makers will beep or shut off automatically, while others may require manual intervention. Be sure to turn off the coffee maker if it doesn’t have an auto-off function to avoid unnecessary wear and tear.
Cleaning the Coffee Maker
Regular cleaning is crucial to maintain your coffee maker’s performance and ensure the best flavor. Start by unplugging the device. Remove any detachable parts such as the brew basket and carafe, and wash them with warm soapy water. For the internal components, run a cycle with equal parts water and vinegar to descale the mineral buildup, then follow with a cycle of plain water to rinse any vinegar residue. Wipe the exterior with a damp cloth. Remember, a monthly deep clean can keep your coffee tasting great and your machine running smoothly.