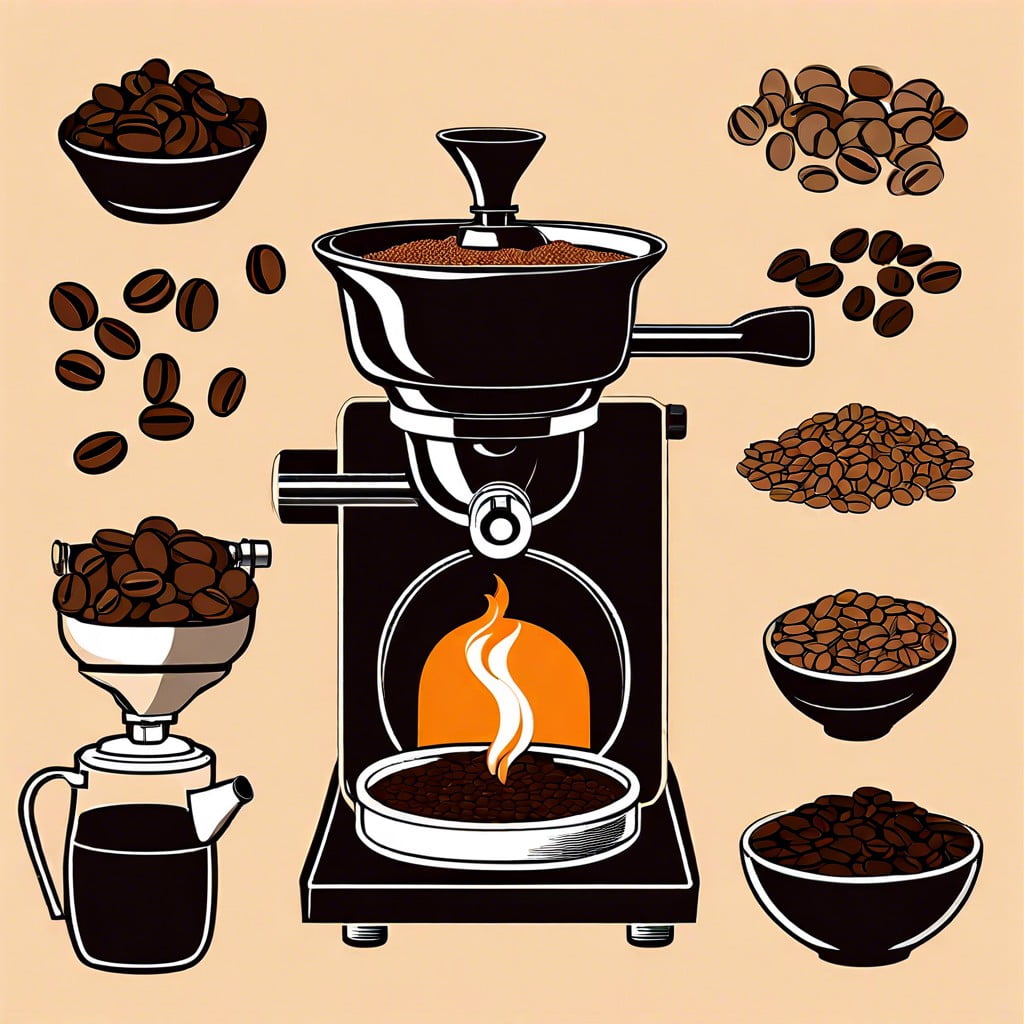
Learn how to roast coffee beans at home to elevate your coffee experience with fresh, flavorful brews.
Equipment Needed for Roasting Coffee Beans

To start, you’ll need a reliable heat source; most commonly, a stovetop or a specialty coffee roasting machine serves the purpose. If you choose the stovetop, a heavy-duty pan, preferably cast iron, is essential to evenly distribute heat.
Next, consider a coffee roaster if you prefer a more automated approach. Options range from simple air roasters to more advanced drum roasters. Each has its benefits, depending on your specific needs and the volume of coffee you plan to roast.
Finally, don’t overlook a good thermometer and a timer. Precision in temperature and timing is crucial to achieving consistent roast quality. A colander or cooling tray for cooling the beans post-roast to stop the cooking process is also important.
With these tools at your disposal, you’ll be well-equipped to roast coffee beans effectively.
Choosing the Right Green Coffee Beans
Selecting green coffee beans is a crucial step that directly influences your roast’s flavor and quality. Different origins and varieties offer distinct taste profiles, so consider what coffee characteristics you enjoy most. For instance, beans from Ethiopia often feature floral and fruity notes, making them a favorite for those who like complexity in their cup.
Bean quality also matters. Look for beans that are evenly sized and free of defects. This uniformity ensures they roast at the same rate, preventing some beans from becoming too dark while others remain undercooked.
Experiment with small batches from various regions to discover preferences and nuances. This exploratory approach not only educates you about coffee but also enhances your roasting skills.
Step-by-Step Guide to Roasting Coffee Beans
First, gather your equipment and green beans. For stovetop roasting, you’ll need a heavy skillet or a popcorn popper. Ensure your space is well-ventilated—roasting can get smoky.
Begin by heating your skillet or popper over medium heat. Add beans in a single layer. If using a skillet, keep them moving constantly to avoid burning. For popper users, crank the handle to keep beans in motion.
As they roast, beans will go through color phases from green to yellow to varying shades of brown. Listen for the ‘first crack,’ an audible popping sound that indicates the beans are roasting. Some prefer to stop here for a lighter roast, while others may continue until the ‘second crack’ for a darker, richer flavor.
Allow the roasted beans to cool, spreading them out to help release heat and stop the cooking process. This cooling phase is crucial to lock in flavor.
Remember, roasting is as much an art as it is a science. Each batch might offer new insights into how different temperatures and times affect the flavor. Experiment and enjoy finding your perfect roast.
Roasting On the Stovetop
Start with a heavy, wide skillet or frying pan; cast iron works well due to its heat retention properties. Heat your pan over medium heat before adding your green coffee beans. Don’t overcrowd; a single layer works best.
Stir consistently. This action is crucial to avoid uneven roasting; think of it as making popcorn without a lid. You’ll notice the beans change from green to yellow, and then to varying shades of brown. Listen for the “first crack,” an audible cracking sound that indicates the beans are roasting.
Adjust the temperature based on the beans’ color and smell. Lower the heat if they darken too quickly. Roasting will typically take anywhere from 10 to 15 minutes, depending on your desired roast level.
Once done, immediately transfer the beans to a metal colander and shake to cool them quickly and stop the roasting process. This also helps to remove the chaff, the flaky outer skins of the roasted beans.
Roasting With a Home Coffee Roaster
Home coffee roasters offer precision and consistency, allowing you to refine roast profiles based on your taste preference. Here’s how you can get started:
- Preheat the Roaster: ** Follow the manufacturer’s instructions for preheating. This is usually at a high temperature before adding beans.
- Measure Your Beans: ** Accuracy is key, so weigh your coffee beans before roasting. Generally, smaller batches allow for more controlled roasting.
- Start Roasting: ** Load the beans and start the cycle. Most roasters have settings for different roast levels. Monitor the color and aroma to judge the roast stage.
- Cool the Beans: ** Once roasted, cooling is crucial to halt the roasting process. Use the roaster’s cooling cycle if available, or spread them on a baking sheet to cool them faster.
Remember, roasting can be a trial and error process. Note each roast’s settings and results to improve and customize your flavor profile over time.