Learn how to light a charcoal grill efficiently and safely for your next BBQ.
Key takeaways:
- Gather materials: charcoal, chimney starter, matches or lighter, grill tools
- Arrange charcoal in grill: pyramid or mound shape
- Use chimney starter: fill with charcoal and light from the bottom
- Wait for flames to die down: coals turn grayish-white
- Spread charcoal evenly: create direct and indirect heat zones
Gather Materials: Charcoal, Chimney Starter, Matches or Lighter, Grill Tools

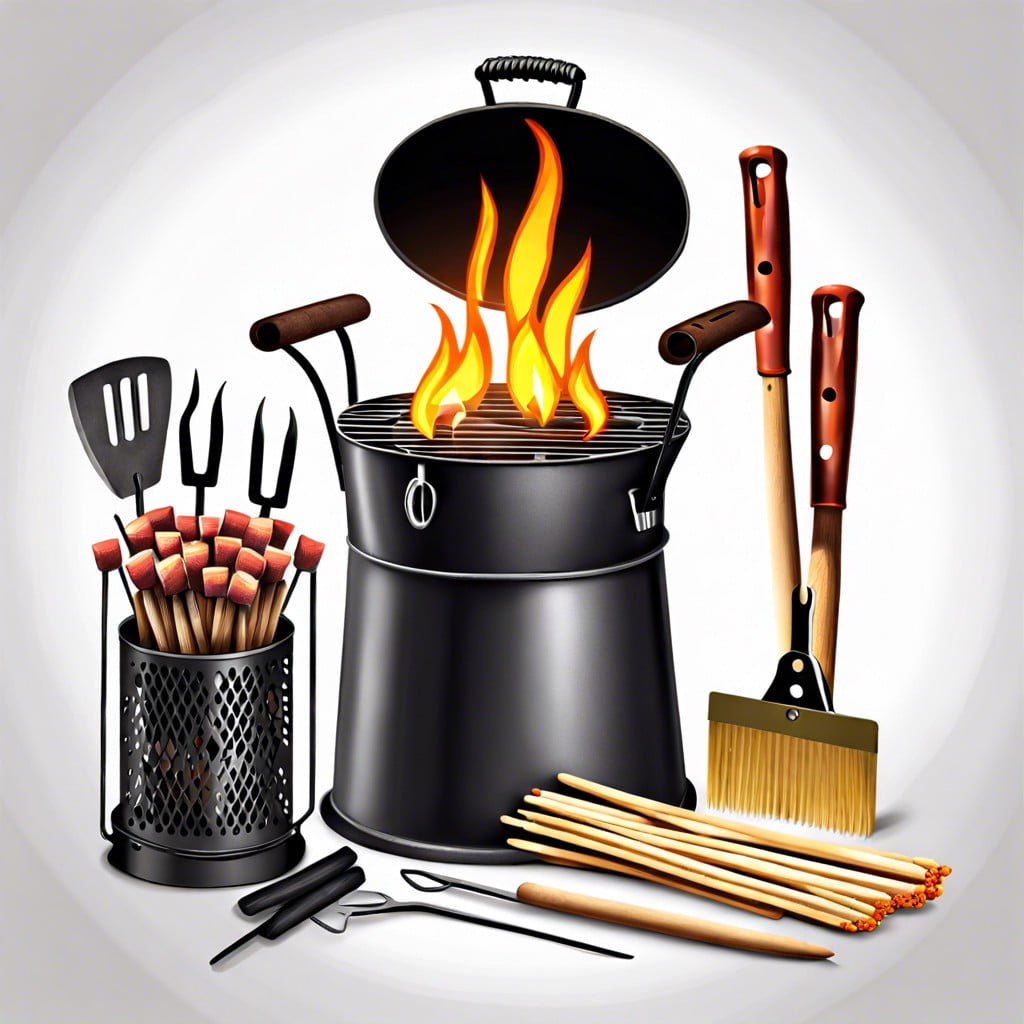
First off, let’s talk essentials. You need to arm yourself with charcoal, a chimney starter, matches or a good lighter, and grill tools. Think of these as your BBQ superpowers.
Charcoal options? You’ve got lump charcoal and briquettes. Lump for natural flavor, briquettes for consistency. Pick your poison.
Now, a chimney starter might look like a medieval torture device, but it’s the secret weapon for lighting your grill. Trust us, ditch the lighter fluid; we’re not in the 70s anymore.
Matches or a long lighter will be your fire-starting sidekick. No one likes singed eyebrows, right?
Lastly, grill tools: tongs, gloves, and a spatula. You’ll need these to boss those coals around without turning yourself into a human torch.
Arrange Charcoal in Grill: Pyramid or Mound Shape
This part is crucial to ensuring your charcoal gets the best start possible. Think of it like arranging a campfire, only with smokey, delicious potential.
A pyramid or mound shape helps the coals catch fire faster. It boosts airflow and focuses heat, like letting a flamethrower loose in a confined space (without the chaos).
Place the charcoal in the center of the grill. Stack the briquettes tightly; it’s a team effort here. Squishing them together helps them share warmth and ignite more readily.
Remember to leave some gaps here and there. Think of it like setting up dominos, but instead of a grand collapse, you get a fantastic BBQ.
And look out for those self-lighting charcoal bags—it’s all fun and games until your brisket tastes like a gas station.
Use Chimney Starter: Fill With Charcoal and Light From the Bottom
Fill the chimney starter with charcoal until it’s about three-quarters full. Carefully place a couple of crumpled newspaper sheets or fire starter cubes underneath the chimney.
Light the newspaper or fire starter with a match or lighter. The design of the chimney starter ensures that the flames naturally travel upward, igniting the charcoal evenly.
Here’s where the magic happens: the heat rising through the chimney pulls air in from the bottom, stoking the coals like a dragon with a caffeine habit. No need for lighter fluid—your burgers won’t taste like a chemistry experiment gone wrong!
Check on the coals after about 10-15 minutes. When the top coals are covered with that glorious, grayish-white ash, they’re ready to be poured into your grill.
Wait for Flames to Die Down: Coals Turn Grayish-white
Patience is a virtue, especially when grilling. You’re looking for the moment when the coals are no longer flaming but perfectly ashed over, a lovely grayish-white color.
First off, this color change means your coals are reaching their optimal temperature. Think of it as their “ready to cook” outfit. At this stage, they’ll provide a consistent heat that won’t scorch your food.
This process takes about 15-20 minutes, so resist the urge to rush it. Want to feel like a grilling guru? Use this time to prep other goodies or crack open your favorite brew.
A crucial tip: Avoid adding new unlit coals at this stage. It’s like adding uninvited party guests at the last minute. Unpredictable and awkward.
This ashing also signals the coals are free of volatile chemicals. No one wants a burger with a side of lighter fluid flavor.
Spread Charcoal Evenly: Create Direct and Indirect Heat Zones
Once the coals are glowing and covered with a light gray ash, it’s time to spread them out. Use grilling tools to move the coals into place.
Think of your grill like a hot dance floor with some cool corners. Push more coals to one side for direct heat; perfect for searing steaks or those Instagram-worthy grill marks. For indirect heat, spread fewer coals on the opposite side. This cooler zone is ideal for cooking chicken or ribs slowly, achieving that smoky deliciousness without charring.
Remember, balance is key. Direct heat zones bring the sizzle, while indirect zones deliver the melt-in-your-mouth tenderness. Get ready to impress and let your grill work its magic!

