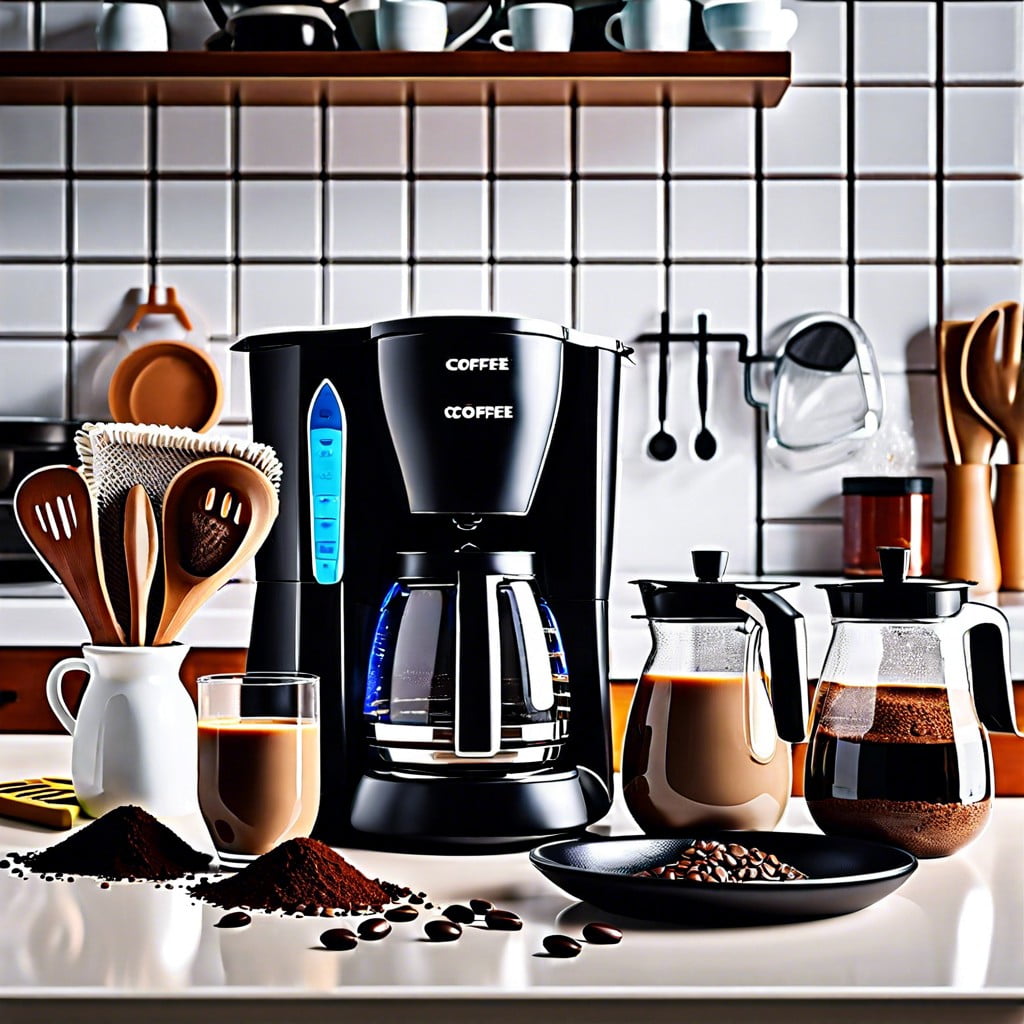
Learn the most effective steps to clean your coffee maker and ensure your brew remains fresh and flavorful.
What You’ll Need

To effectively clean your coffee maker, gather the following items:
- White vinegar: A natural descaling agent that removes mineral buildup.
- Water: Needed to dilute vinegar for descaling and to rinse the machine after cleaning.
- Mild dish soap: Helpful for cleaning removable parts without leaving a residue.
- Sponge or dishcloth: Used to wipe down surfaces and scrub lightly soiled components.
- Soft-bristled brush: Assists in dislodging coffee grounds from hard-to-reach areas.
- Dry towel: Essential for drying parts to prevent mold and bacterial growth.
- Rice (optional): An abrasive, yet gentle material useful for cleaning carafes or thermoses.
- Baking soda (optional): Can be used for occasional deep cleaning and removing odors.
Using these items, you’ll be equipped to perform routine cleaning and maintain the efficiency and longevity of your coffee maker.
Signs It’s Time to Clean Your Coffee Maker
You may notice your coffee tastes off, lacking its usual depth or flavor—this could be a residue buildup affecting the taste. Slow brewing times can indicate mineral deposits obstructing water flow. Visible calcification or sediment inside the reservoir or on the heating elements signals the need for descaling. Mold or mildew, an unpleasant companion in damp environments, might become visible and must be promptly addressed. If your coffee maker has a cleaning or descaling light, it becomes illuminated as an automatic reminder. Trust your senses; if the appliance emits an odd smell or coffee grounds show up in unexpected places, it’s time for a thorough cleaning. Regular maintenance ensures a consistently high-quality cup and extends the life of your coffee maker.
Instructions for Daily and Monthly Cleaning Steps
Regular upkeep is key to a well-functioning coffee maker. After each use, remove leftover coffee grounds and wash the brew basket, either in the dishwasher or by hand with warm, soapy water. The carafe should also be rinsed out with water and a mild detergent to mitigate coffee stains and oil build-up. For machines with reusable filters, washing them daily is essential to prevent clogging and ensure a fresh taste.
On a monthly basis, deep cleaning goes a long way. Start by emptying all components and preparing a vinegar solution – typically one part white vinegar to one part water is effective. Fill the water reservoir with this solution and run halfway through a brew cycle. Pause for an hour to let the solution soak and remove any build-up, then resume the cycle. Finish by running water through the coffee maker for several cycles until the vinegar scent is gone. Wipe down external surfaces with a damp cloth to complete your monthly maintenance.
With consistent cleaning habits, your coffee maker will not only last longer but will also continue to produce the best flavor profile possible.
How to Descale Your Coffee Maker
Descaling is a crucial maintenance process for removing mineral buildup inside your machine. Here’s how to do it effectively:
Fill the reservoir with an equal mix of white vinegar and water. For a more potent solution, use a commercial descaling product, following the manufacturer’s instructions for dilution.
Start the brew cycle without a coffee filter in place. Halfway through, turn off your coffee maker and let it sit for 30 to 60 minutes to allow the descaling solution to work through the buildup.
After the soak period, complete the cycle. Then, run two to three cycles with fresh water before brewing coffee. This ensures any vinegar taste is completely rinsed out.
Descaling should be performed every three to six months, but users with hard water may need to descale more frequently to prevent significant mineral buildup. Regular descaling prolongs the life of your coffee maker and ensures the best tasting brew.
Tips for Keeping Your Coffee Maker Cleaner for Longer
Always use fresh, filtered water to reduce mineral buildup. This not only improves the taste but also minimizes scaling, which can clog your coffee maker over time.
Empty the grounds immediately after brewing. Allowing coffee grounds to sit can lead to mold and mildew, which are challenging to clean and can impart off-flavors to your coffee.
Rinse removable parts after each use. A quick rinse under warm water can prevent coffee oils from building up and becoming rancid, which would affect future brews.
Dry all components thoroughly before reassembling. Moist environments encourage bacterial growth, so keeping everything dry helps maintain a clean machine.
Use a damp cloth to wipe the exterior and warming plate regularly. Spills and drips can burn onto hot surfaces and attract dust, making them harder to clean if left unattended.
Store the coffee maker in a cool, dry place. Avoid placing it under cabinets where steam can condense and drip onto the machine, fostering microbial growth.
By following these preventative cleaning steps, you can ensure that your coffee maker remains in optimal condition, brewing the perfect cup every time.