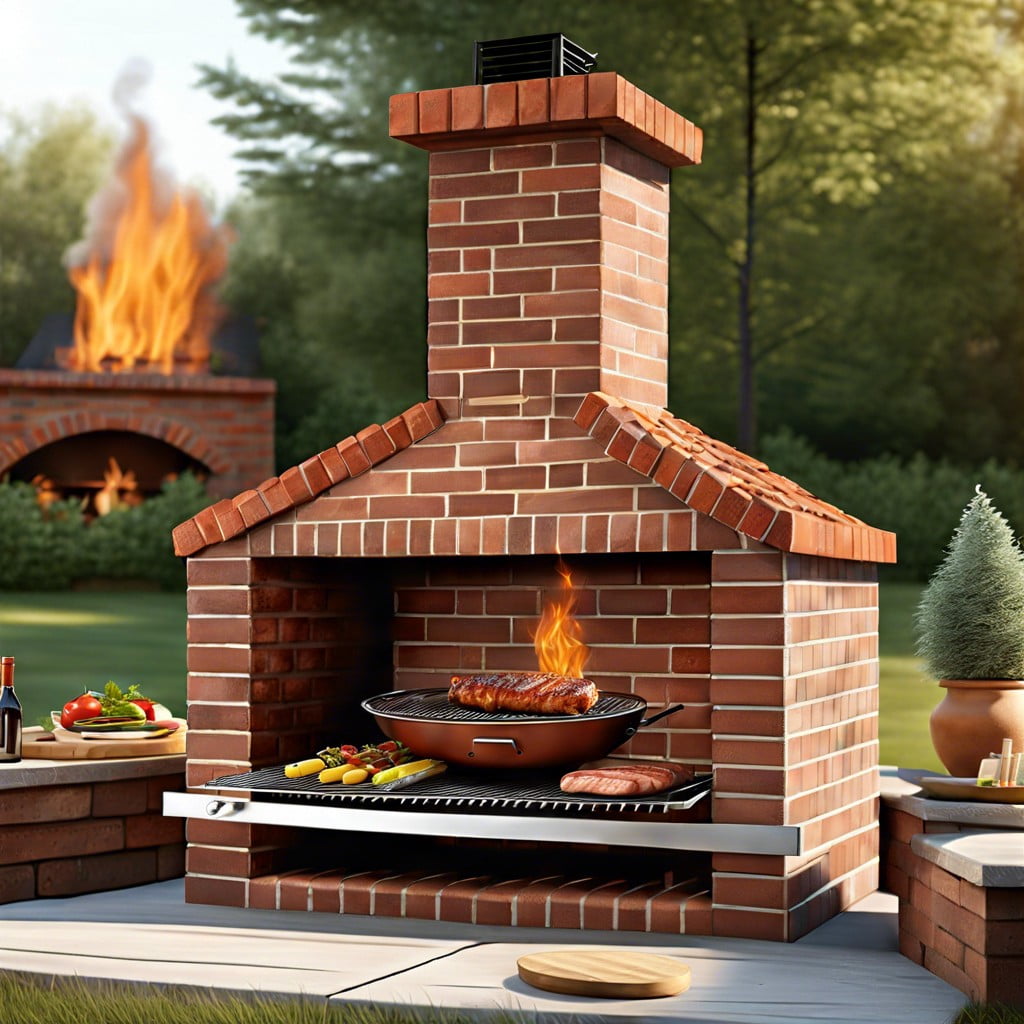
Learn how to build a brick BBQ with a chimney step-by-step, creating the perfect outdoor grilling station.
Key takeaways:
- Gather bricks, mortar, cement, and tools.
- Choose a flat, well-drained location.
- Lay a sturdy, level foundation.
- Build firebox with firebricks and airflow.
- Construct a 3-foot chimney with a cap.
Materials and Tools Needed

Ready to roll brick? Fantastic. First up, let’s gather our arsenal of materials and tools. Think of it as assembling the Avengers of BBQ building. You’ll need bricks, obviously. Firebricks for the inner lining and regular bricks for the outer structure. Mortar mix is essential—the glue holding your masterpiece together.
Grab some cement and sand. They’re the Batman and Robin of construction. Steel reinforcement rods? Check. These guys provide extra stability. Got the bricks all set? Cool. Now for tools: a trowel for slathering mortar, a brick jointer for those fancy finishing lines, and a level to keep your masterpiece from looking like a Salvador Dali painting.
Don’t forget a good quality tape measure and safety gear. Goggles, gloves, and a dust mask because nobody looks cool with brick dust in their eyes. That’s it! Your shopping list of BBQ essentials is now complete. What could possibly go wrong? (Hint: Measure twice, cut once.)
Choosing the Right Location
Think about a spot where the smoke signals won’t send the neighborhood into a frenzy. Avoid building near windows unless you want your living room to smell like a medieval tavern. You need a flat area with good drainage—flooded BBQs are just sad. Make sure there’s a breeze but not a wind tunnel. Nobody likes their burger buns blown into the next county. Fire safety is crucial; steer clear of low-hanging branches and wooden fences. Access to your kitchen or outdoor prep area makes life easier—who wants to hike for condiments? Finally, check local regulations before you start, because BBQing in jail isn’t fun.
Laying the Foundation
Start with a solid foundation, unless you want your BBQ to resemble the Leaning Tower of Pizza. First, clear the area of grass, roots, and any debris. Now dig a rectangular pit. Around 8 inches deep should do, but it’s not an exact science—your BBQ isn’t going mining.
Next, time to pack it up. Fill the pit with gravel to about 4 inches. This gives your BBQ a stable base, kind of like a good pair of shoes. Smooth it out like a zen garden—no need for miniature rakes, but keep it even.
Now pour in the concrete. Mix it according to the bag’s instructions and aim for consistency. You’re not making a milkshake; you want it firm but workable. Spread it evenly, and smooth the surface with a trowel. Imagine icing a cake, but a very boring, grey cake.
Before it dries, double-check the level. Toss a couple of pavers on there to make sure it’s even. Messing up here means your BBQ might channel its inner Pisa later. Let it cure for at least 24 hours. Get some rest, you’re going to need energy for all that future grilling.
Constructing the Brick BBQ
Start by laying the brick walls of the firebox, which is basically the heart of your BBQ. Use firebricks for the interior as they can handle the high heat, while regular bricks can form the exterior. Aim for a double-layered wall for added durability. Mortar between each brick, but remember, this isn’t Jenga – don’t make it too tight.
As you build, leave openings for airflow at the base. Your ribs don’t want to suffocate, right? A grill grate (adjustable height is chef-level stuff) needs to be supported by ledges or brackets. Include these as you go up.
Lastly, a spot for ash disposal is crucial. Nobody enjoys a dance with yesterday’s embers. Include a convenient, easy-to-clean area at the base.
Break up your work into levels – think of it as assembling a beautiful, brick lasagna.
Adding the Chimney
A BBQ without a chimney is like a cow without a grill—a missed opportunity. Let’s get that chimney going.
First, ensure your chimney is located at the back of your BBQ, aligned with the smoke outlet. This keeps the smoke going skyward, not into your guests’ faces.
Use fire bricks for the chimney to handle the heat. Regular bricks will have a meltdown worse than an ice cream in July.
Build the chimney to a height of about 3 feet above the BBQ. Too short and your face might get a smokey makeover; too tall and you’ll be calling it a skyscraper.
Consider adding a cap to your chimney. This keeps rain out and the draft efficient. Nobody likes soggy BBQ.
Remember mortar – your sticky friend. It holds the chimney in place, like glue for grown-ups.
Finally, align the chimney bricks to match your BBQ bricks. You want your masterpiece to look intentional, not like a patchwork quilt.