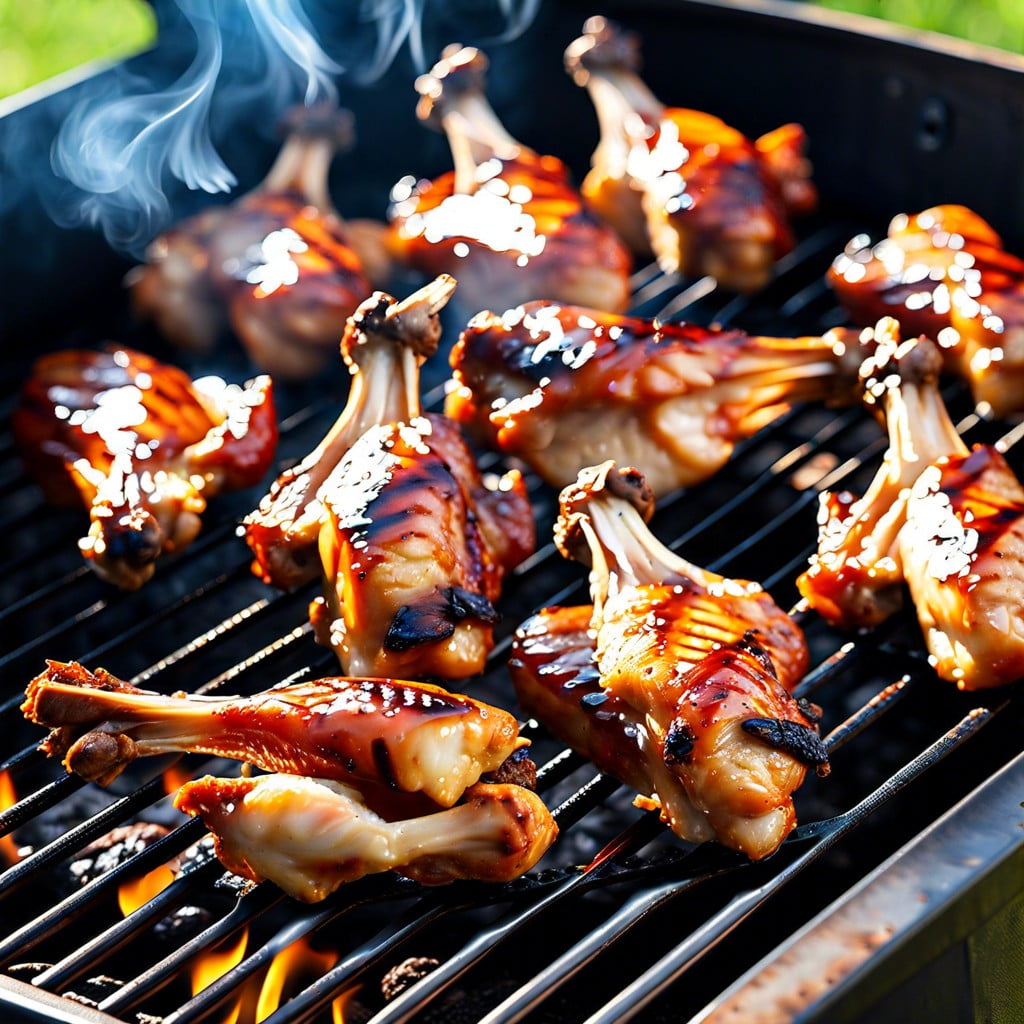
Grilling chicken wings to perfection involves specific timings and techniques, which you will learn in this how-to guide.
Key takeaways:
- Chicken wings take 20-25 minutes to grill over medium heat.
- Use a meat thermometer to ensure chicken wings reach 165°F.
- Marinate wings only in the final minutes of grilling.
- Position wings on the cooler side of the grill for indirect heat.
- Clean and maintain the grill for future grilling success.
Grill Time for Chicken Wings

A sizzling set of chicken wings glistening on the grill is a sight to behold, but perfection lies in timing. On average, you’ll need a good 20-25 minutes over medium heat to cook them through. Flip every 5 minutes to foster even cooking and crispiness.
Covering the grill is akin to setting the stage for an even cook, minimizing the risk of raw spots. Keep a watchful eye, as grills can be fickle creatures with hot spots that might speed up cooking times for some wings. It’s a dance of heat and time, but when done right, it leads to golden, juicy results. Aim for that balance, and you won’t be led astray.
Determining Doneness of Grilled Chicken Wings
Confidently discerning whether your chicken wings are fully cooked is both an art and a science. Stick to the 165°F rule—this isn’t just a random number; it’s the magic figure for safety and succulence according to food safety authorities. Use a meat thermometer to hit this target and avoid the guesswork.
Visual cues are helpful companions in this process. Look for clear juices when the chicken is prodded and golden-brown skin that speaks of crisp readiness. Touch is another ally; well-done wings will exhibit a firmness to the touch, signaling their transition from raw to ready.
Remember, these signals are reliable indicators that those wings are primed for your plate, not to be undermined by eyeballing or arbitrary timing. Precision here rewards with peace of mind and peak flavor on the palate.
Safe Internal Temperature for Chicken Wings
Hitting the sweet spot of safety without sacrificing succulence boils down to one key number: 165°F. This is not just a random figure; it’s the USDA-recommended internal temperature that guarantees your poultry is thoroughly cooked and pathogens like Salmonella are shown the exit.
Want a fool-proof method? Use a meat thermometer. Insert it into the thickest part of the wing, steering clear of the bone, to get an accurate reading. Remember, your chicken wings may continue cooking slightly once off the grill, thanks to carryover cooking.
This ensures every bite is safe, juicy, and ready to be devoured.
Tips for Preventing Burnt Chicken Wings
Avoid the charred wing fiasco with these nuggets of wisdom:
Marinate with Vigilance: A good marinade acts like a shield against the flames. But remember, sugary sauces can betray you, turning to carbon at the slightest provocation. Brush them on only in the final minutes of grilling.
Low and Slow is the Tempo: Chicken wings love a gentle heat. Aim for a medium setting to get that golden-brown perfection without the acrid blackened crunch.
Indirect Heat is Your Wingman: Let’s sidestep direct flame contact. Position the wings on the cooler side of your grill and let the ambient heat coax them to doneness.
Turn, Don’t Burn: Keep things moving. Regularly turning the wings prevents them from becoming sacrificial offerings to the fire gods.
Stay Alert, Stay Safe: Don’t stray too far from your grill. A watchful eye snuffs out the beginnings of burn before it becomes a full-blown disaster.
Cleanliness is Next to Grill-Godliness: A grungy grill is a treacherous friend. Clean those grates before each session to prevent sticky situations and unwelcome flare-ups.
These strategies are your armor in the battle against the blackened wing. Employ them, and victory will be yours – in the form of juicy, golden chicken wings that are sure to vanish from the plate.
Cleaning and Maintenance of the Grill Post-Cooking
After you’ve devoured those perfectly charred wings, a clean grill is key to your next barbecue success. Start while it’s still warm, not hot, which loosifies grime, making the scrub a cinch. Use a good-quality brush to sweep off charred bits from grates. Next, wipe grates down with cooking oil; think of it as a little spa treatment that keeps rust at bay and ensures stick-free grilling.
Empty the ash catcher if you’re using charcoal; this isn’t just housekeeping, it’s about airflow for your next grilling adventure.
Don’t neglect the drip pan—spillage accumulates and trust me, you don’t want last week’s grease singing duets with fresh wings. For gas grills, check burners for clogs and give ’em a good brushing. A blocked burner is a party pooper that won’t invite even heat.
Lastly, a quick exterior wipe down leaves your trusty grill not only ready for the next round but also gleaming like it’s grill prom night every night. Remember, a loved grill is a grill that loves you back, serving up batch after batch of those mouth-watering wings.

