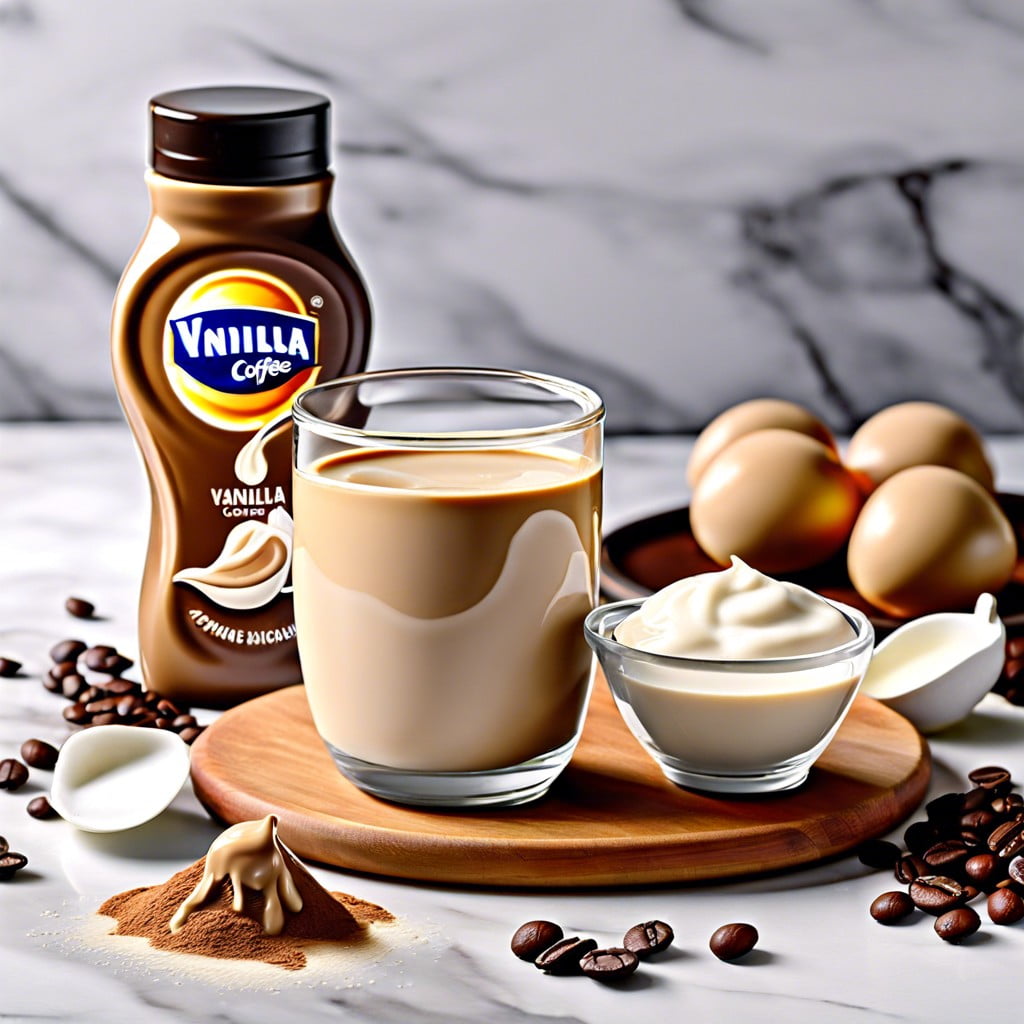
Learn how to craft homemade coffee creamer with simple ingredients for a customized touch to your morning brew.
Ingredients for Vanilla Coffee Creamer

Diving straight in, a basic vanilla coffee creamer concoction requires only a handful of ingredients. You’ll start with milk, and the choice is yours: whole, skim, almond, soy? Pick your potion.
Next, a splash of heavy cream whirls in to give that rich, smooth texture we all crave in a good creamer. Here’s where the magic happens: pure vanilla extract. This isn’t vanilla’s first rodeo; it brings a warm, comforting flavor that can make your morning cup feel like a hug in a mug.
Last but not least, a sweetener ties it all together. Granulated sugar is an old faithful, but maybe you’re feeling adventurous. Honey? Maple syrup? The sweet world is your oyster.
Just remember, ratios are the golden key to your creamer’s kingdom. Getting them just right is what turns a regular cup of coffee into a personal café experience right at your kitchen table.
How to Make Coffee Creamer
Start by gathering a saucepan, whisk, and small storage container. Heat one cup of whole milk with one cup of heavy cream in the saucepan over medium heat. Stir continuously to prevent scalding. As the mixture warms, add two tablespoons of vanilla extract for a classic flavor. Sweeten to taste with sugar or a sugar substitute, stirring until dissolved.
Experiment with mix-ins for variety. Cinnamon adds warmth, cocoa powder creates a mocha twist, and pureed fruit introduces a natural sweetness. Once the mixture reaches a uniform consistency, remove from heat. Allow it to cool before transferring to your container. Refrigerate to chill. Shake well before each use as ingredients may separate. Enjoy a dash of homemade creamer in your next cup of java for a personal touch.
Nutrition Facts (per Serving)
Here’s the skinny on what’s in each splash of homemade creamer. A typical serving, let’s say one tablespoon, of a basic vanilla coffee creamer made from heavy cream, whole milk, and sugar, packs approximately 35 calories. The same amount contains about 1.5 grams of fat, 5 grams of sugar, and, given that we’re stirring up our concoction with real dairy, there’s also a smidge of protein in there, about 0.2 grams.
Keep in mind, if you opt for a substitute like almond or coconut milk, the calorie count could dip, but so could the creaminess. Sweeten the deal with alternatives like honey or maple syrup, and that can nudge the sugar content upwards or downwards, not to mention tweaking the flavor.
It isn’t rocket science, but playing barista in your kitchen lets you call the shots on nutrition. Standby for the Q&A on customization if you’re keen on trimming down or bulking up your recipe. Just remember, what you pour into your coffee cup isn’t just about taste – it’s about what suits your lifestyle and health goals as well.
Common Questions
- Can I use a sweetener besides sugar in my creamer?
- Absolutely! Swap out white sugar for alternatives like honey, maple syrup, or stevia. Consider the sweetness level and add to taste.
- Is it possible to make a dairy-free version?
- Yes, you can! Almond milk, coconut milk, or oat milk are great dairy-free substitutes. Just be aware that the creaminess may vary with different milk types.
- How long will homemade creamer last in the fridge?
- Your creamer should stay fresh for up to a week when stored in an airtight container. Always sniff-test before use; trust your nose!
- Can I add flavors other than vanilla?
- Go wild with flavors! Experiment with cinnamon, peppermint extract, or even pumpkin spice. Personalize it to tickle your taste buds.
- Will the homemade creamer froth well for lattes?
- Homemade creamer doesn’t froth as well as store-bought due to different emulsification and less stabilizers. For best frothing results, stick with conventional frothing options.
Storing Coffee Creamer
Homemade creams, like the ones you can whip up for your morning joe, require care to stay fresh and flavorful. Glass is the champion here; it doesn’t impart any unwanted flavors and keeps your concoction tasting as good as when you first mixed it. Always refrigerate, aiming for the back where the temperature is the most constant. Keep it cozy there for up to a week, though if you’ve added fresh dairy, a sniff test before use is a smart move.
Fancy a longer shelf life? Consider individual servings—small jars or ice cube trays work wonders. Freeze, then pop a cube into your cup for an instant chill and flavor boost. Just remember, with any batch, large or small, a clean spoon makes for happy creamer—dip a dirty one, and you’re inviting bacteria to a party in your pitcher. Keep it clean, keep it cold, and that handcrafted cream will treat you to delightful mornings aplenty.