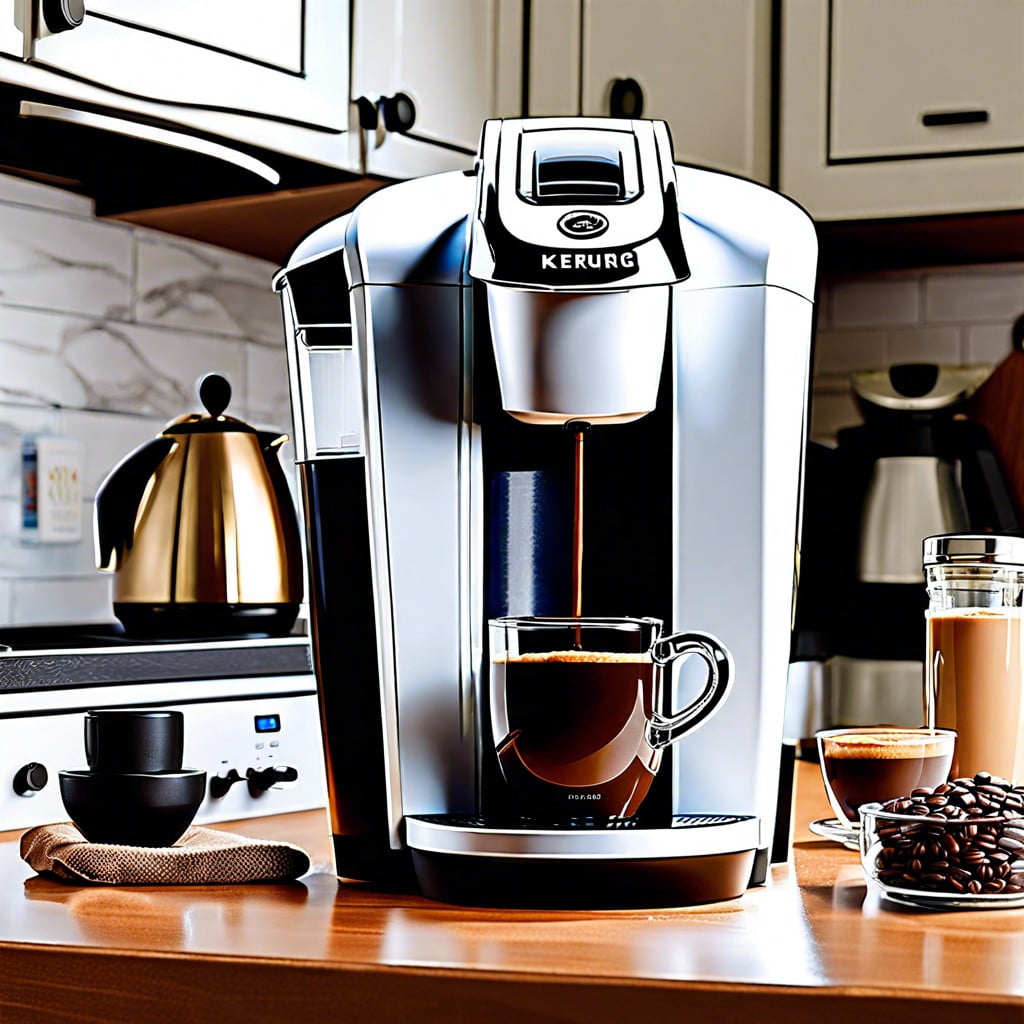
Learn the effective steps to descale your Keurig machine to ensure optimal performance and great-tasting coffee.
How to Clean Your Keurig Coffee Maker

Maintaining the cleanliness of your Keurig is essential for both its performance and the taste of your coffee. Start by unplugging the machine to ensure safety before cleaning. Use a damp, soapy cloth to gently wipe down the exterior of your Keurig, paying extra attention to areas where coffee grounds may have spilled.
Next, remove the drip tray and wash both it and the plate with warm soapy water. This will prevent buildup and potential mold from forming due to residual liquid. After washing, thoroughly dry both parts before reassembling.
For the water reservoir, take it out of the machine, discard any remaining water, and wash it with warm soapy water. Make sure to rinse it well to avoid soap residue, which could affect the taste of your coffee. Before replacing the reservoir, dry it with a clean towel or let it air dry.
Lastly, perform a water-only cycle. Fill the reservoir with fresh water and run the machine several times without a coffee pod. This will clear out any remaining debris or soap from the machine, ensuring your next cup of coffee is fresh and free of impurities.
Wipe Down the Exterior
Begin by unplugging the coffee maker to ensure safety. Using a damp cloth, gently wipe down the machine’s surface, taking care not to get water in any of the openings. Focus on areas where coffee grounds and dust may accumulate, such as around the k-cup pod holder and the machine’s top. Avoid using abrasive cleaners that can scratch the surface; mild dish soap works effectively if needed. Ensure the cloth isn’t dripping wet to prevent any water from seeping into the machine’s internal components. Regular exterior cleaning not only maintains the appearance but also prevents the buildup of residues that can hinder performance.
Clean the Drip Tray and Plate
Begin by removing the drip tray and plate from the machine and discard any liquid or residue inside. These components are often overlooked but can harbor coffee drips, spills, and even mineral buildup.
Thoroughly wash both pieces with warm, soapy water, using a non-abrasive cloth or sponge to avoid scratching the surface. For stubborn stains, a baking soda paste can be applied directly to the area, left to sit for a few minutes, then scrubbed gently and rinsed off.
Dry the drip tray and plate completely with a clean towel or let them air dry. Ensuring these parts are dry before reassembly prevents the growth of mold or bacteria.
Once clean and dry, replace the drip tray and plate into the Keurig, ensuring they snap back into place properly. Regular cleaning of these components will help maintain the machine’s appearance and hygiene.
Wash the Reservoir
Begin by detaching the water reservoir from your Keurig machine. It’s essential to empty any remaining water to ensure a thorough clean. Using warm soapy water, give the inside a good scrub with a non-abrasive cloth or sponge, targeting any mineral deposits or buildup. For those hard-to-reach areas, a small brush or an old toothbrush can be highly effective.
Rinse the reservoir thoroughly with water to remove any soap residue. It’s crucial to avoid harsh chemicals or detergents that could potentially contaminate your coffee. Let the reservoir air dry completely or use a clean towel to dry it before reattaching it to the machine. Remember to ensure proper alignment and secure fit to prevent any leakage during operation. Regular cleaning of the water reservoir is key to maintaining the quality and flavor of your coffee.
Run a Water-Only Cycle
After addressing the drip tray, reservoir, and exterior, the next step involves running your machine without any pods. This process helps to flush out any remaining coffee grounds or oil residue within the brew path. Begin by filling the water reservoir with fresh water to the max fill line. Avoid using distilled water as it can impact the machine’s sensors.
Engage your Keurig to brew the largest cup size. If your model has a ‘cleansing brew’ feature, use this setting. Performing this with only water helps to ensure that any soap or cleaner used previously is thoroughly rinsed out. It’s crucial to have a mug in place to catch the water.
Repeat this process until the water reservoir is empty to ensure a thorough rinse. For optimal performance, consider running a water cycle after brewing flavored or oily coffees, ensuring the next cup tastes as intended.