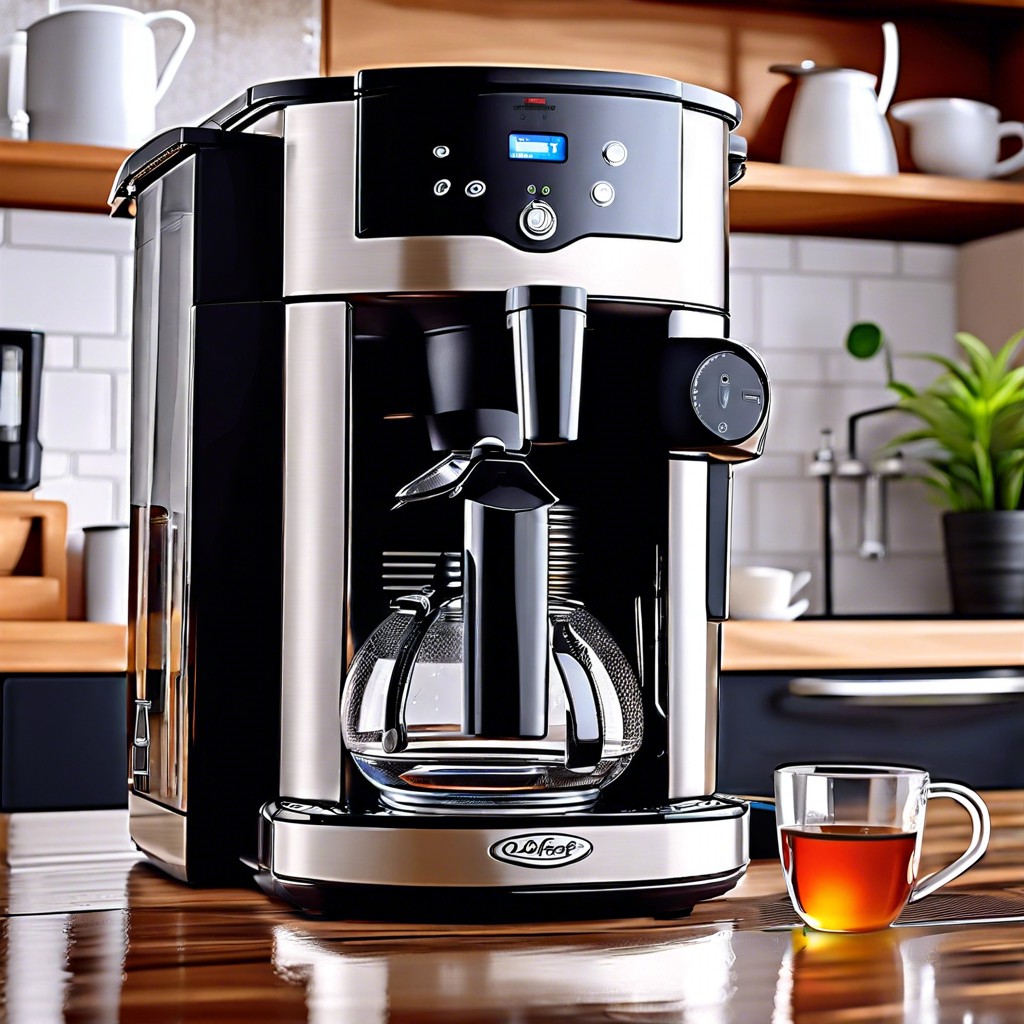
Learn how to descale your coffee maker effectively to ensure optimal performance and flavor in your brews.
Importance of Descaling Your Coffee Maker

Regular descaling extends the lifespan of your coffee maker. Over time, minerals from water build up in the machine’s inner workings, which can clog it and hinder performance. This mineral buildup can also affect the taste of your coffee, making it less enjoyable. By removing these deposits, descaling ensures that your coffee maker operates efficiently and continues to produce great-tasting coffee. Moreover, descaling prevents potential malfunctions, saving you money on repairs or replacements. Descaling every three to six months, depending on water hardness and machine usage, is typically recommended.
Signs Your Coffee Maker Needs Descaling
Watch for slower brewing times; a clear signal of mineral buildup impacting the machine’s efficiency. If your coffee starts tasting off or slightly bitter, it could mean scale is altering the heating element’s performance and, by extension, the brewing temperature. Noticeable mineral deposits around the water reservoir or heating elements are visual cues that it’s time to act. An increase in noise during brewing—like louder gurgling or steaming sounds—can also suggest that the water flow is being obstructed by limescale.
Steps to Descale a Coffee Maker
Begin the descaling process by emptying your coffee maker. Ensure the water reservoir and any leftover coffee are discarded. Next, prepare a descaling solution. You can opt for a commercial descaler or a homemade mixture of equal parts white vinegar and water.
Fill the reservoir with the descaling solution. Run a brew cycle, but stop halfway to let the solution sit in the machine for about an hour; this breaks down lime scale and mineral buildup inside.
Continue the cycle after the pause. Once completed, run several cycles with freshwater to rinse any remaining descaling solution. You might need to do this three to four times to ensure no vinegar taste lingers.
If your coffee maker has a filter or water filtration system, consider replacing it as part of your maintenance routine. This helps keep your machine running smoothly and your coffee tasting fresh.
Troubleshooting Common Issues During Descaling
If the descaling solution isn’t flowing through your coffee maker properly, check for clogs. Often, mineral build-up blocks water paths. Gently tap and shake the water reservoir to dislodge any trapped crystals before restarting the descale process.
Encountering a persistent bitter taste post-descaling? Rinse thoroughly. Run at least two full cycles with plain water. This ensures all traces of descaling solution are washed away, restoring the fresh taste of your coffee.
Notice an error code or flashing lights during descaling? Refer to your coffee maker’s manual. Each model has specific codes that guide you through troubleshooting steps. This can range from simple resets to needing professional maintenance.
Coffee still brewing slowly after descaling? Repeat the descaling process. Severe scale build-up might require a couple of treatments for optimal flow restoration.
These steps should mitigate common roadblocks, keeping your coffee maker in prime condition for the perfect brew every morning.
Preventative Maintenance Tips
Regularly rinse the coffee maker with water after each use to minimize residue build-up. This simple step can significantly cut down on the frequency of deep descaling sessions. Aim to use soft water for brewing, as it contains fewer minerals than hard water, which directly contributes to scale accumulation. Monthly cleaning with a mild vinegar solution can also be effective in keeping mineral deposits at bay, providing a natural and cost-effective preventive strategy. Lastly, adhere to the manufacturer’s guidelines for cleaning and maintenance. Following these dedicated instructions not only preserves the longevity of your coffee maker but also ensures optimal brewing performance.